
Dollar Tree Styrofoam Faux Cement-Mud Pumpkins
I went into Dollar Tree with an idea in mind, and came out with another. Does that ever happen to you? Sometimes you have to switch up the plan you had intended for something else. I decided to just try this new idea and run with it. And if I didn’t like how it turned out, I was only out $6. Seemed worth the risk to me! ;) Here is a step-by-step guide to making your very own Dollar Tree styrofoam faux cement-mud pumpkins.
I’m always hopeful at the beginning of projects, but also a little bit anxious! Anyone else feel the same? Wanting the project to go successfully is always top of mind! Sometimes it does, sometimes it doesn’t. So if your projects don’t work the first time, keep tinkering with it. It takes time!
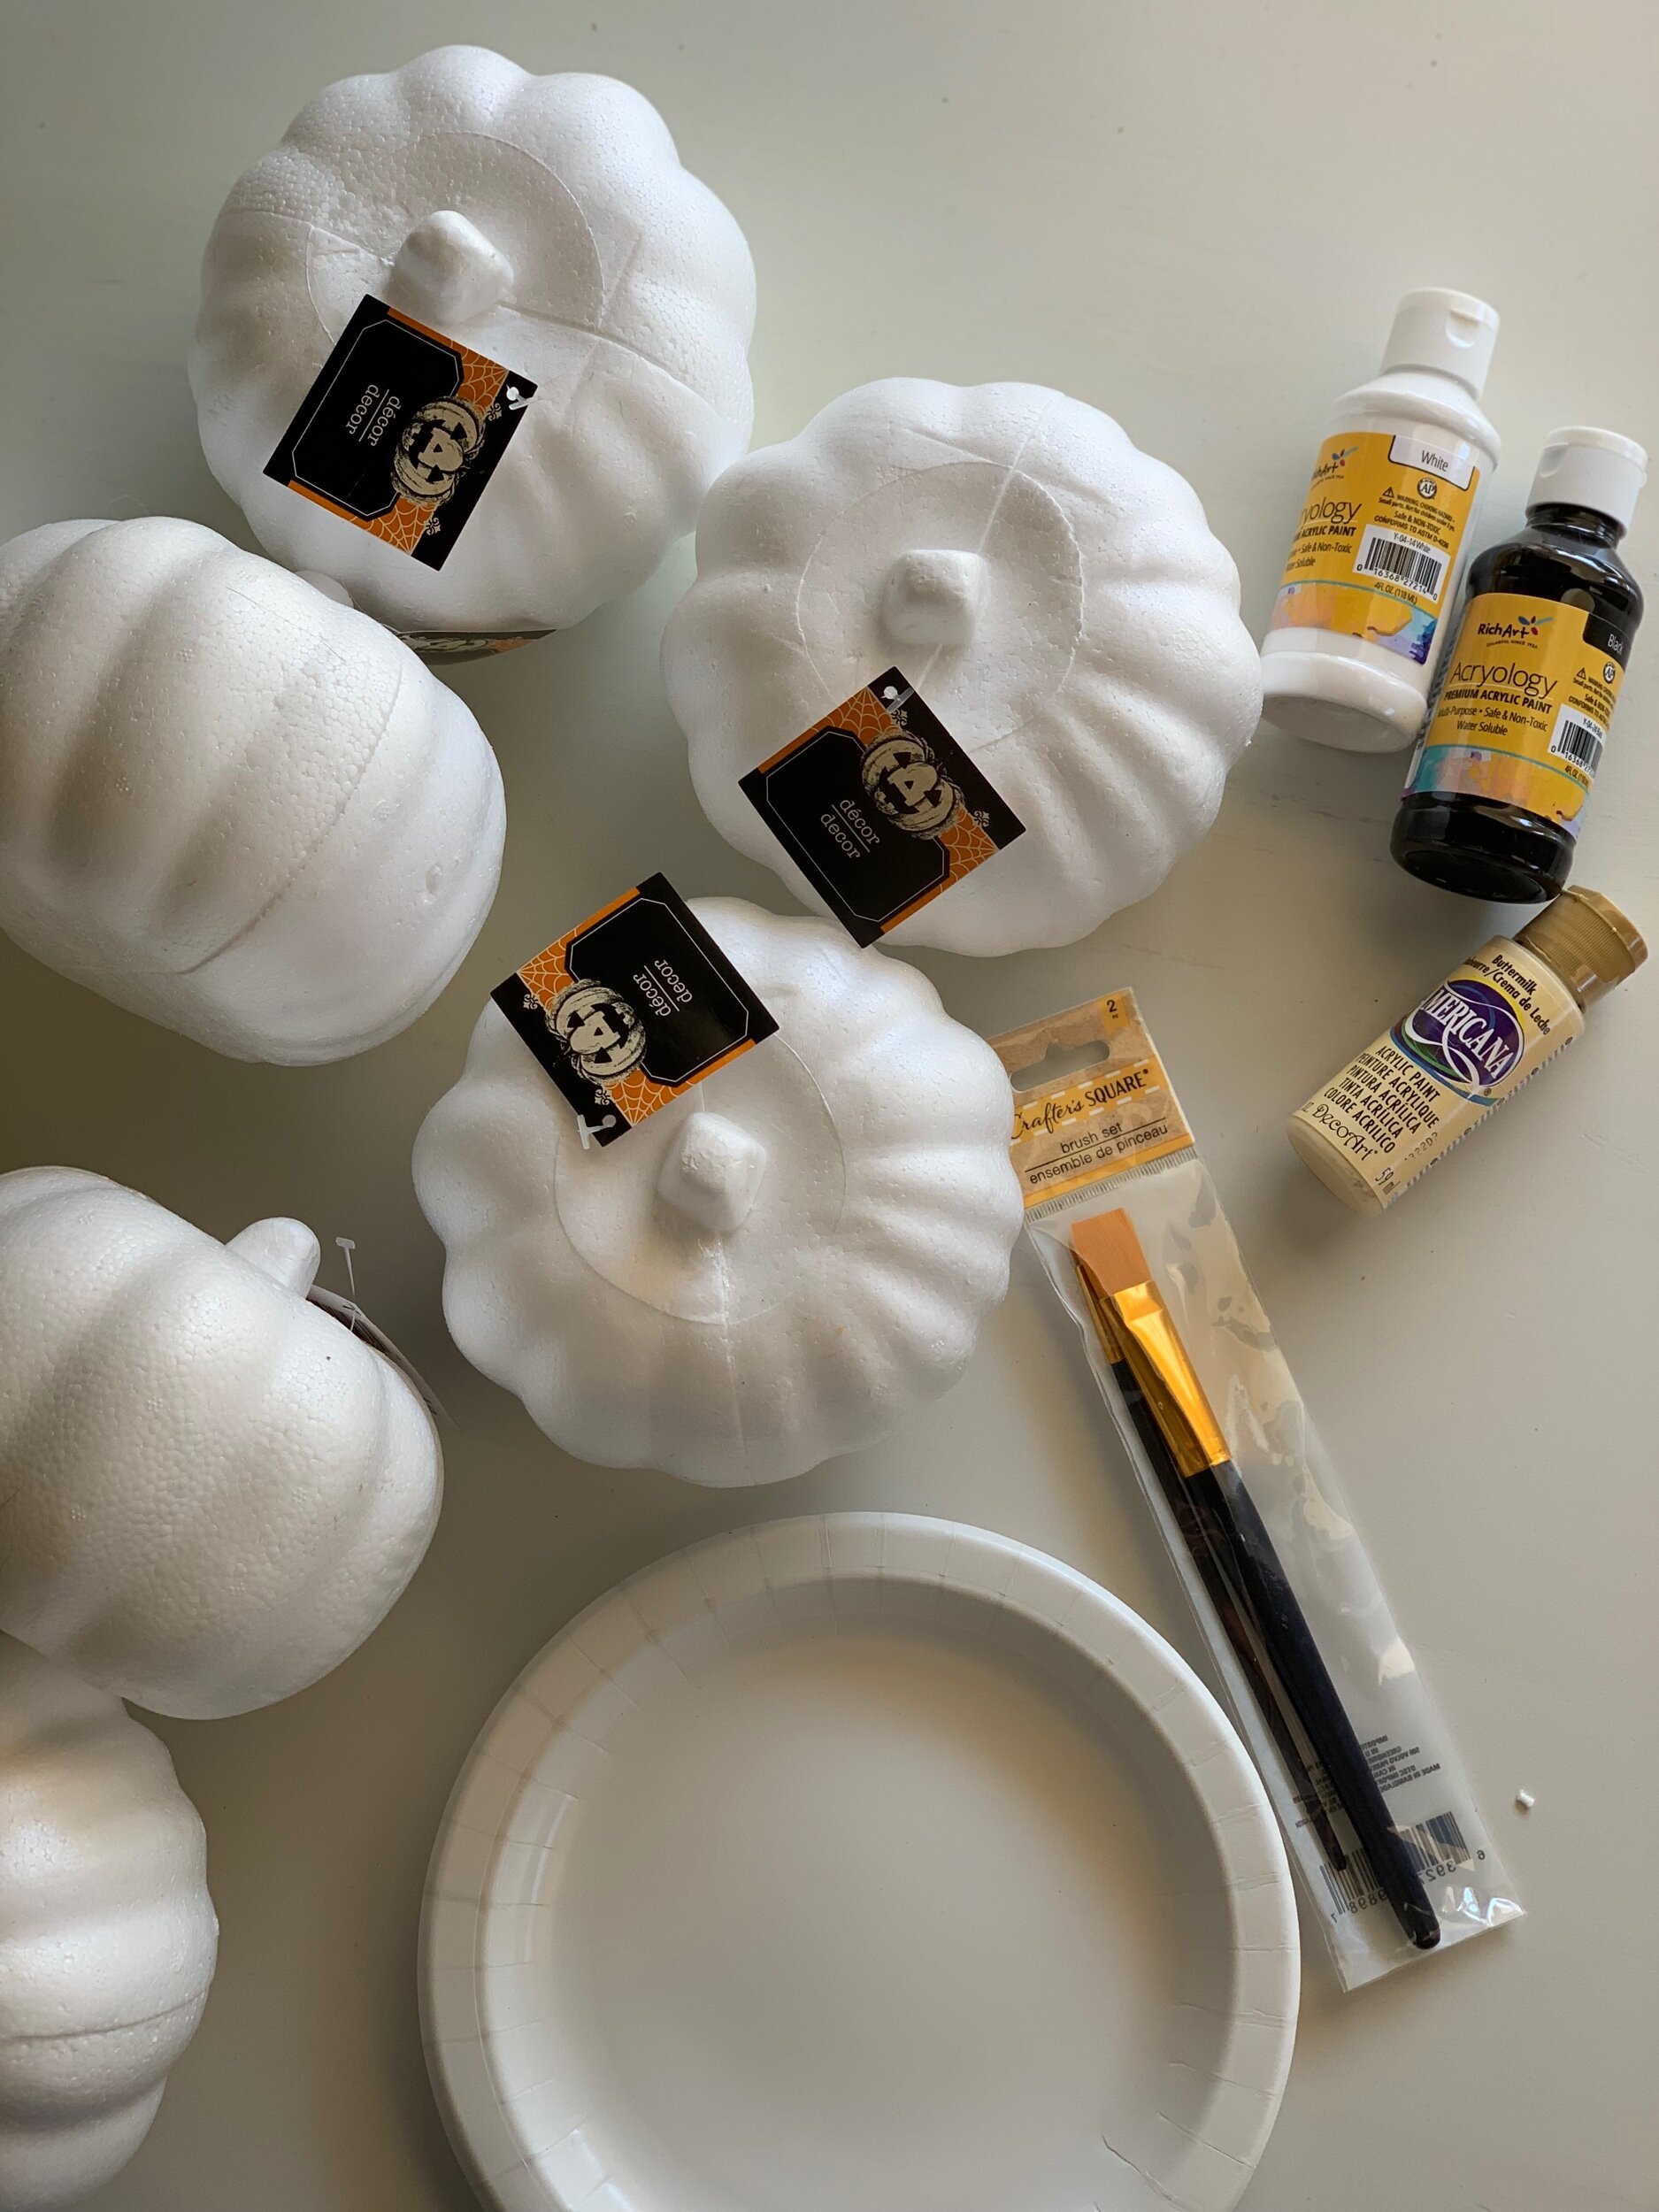
S U P P L I E S
Paint brushes
Styrofoam pumpkins
Paper plates (1 for paint and 1 for dirt)
Acrylic paint (whatever colors you want to use. I chose white, cream and black.)
Dirt

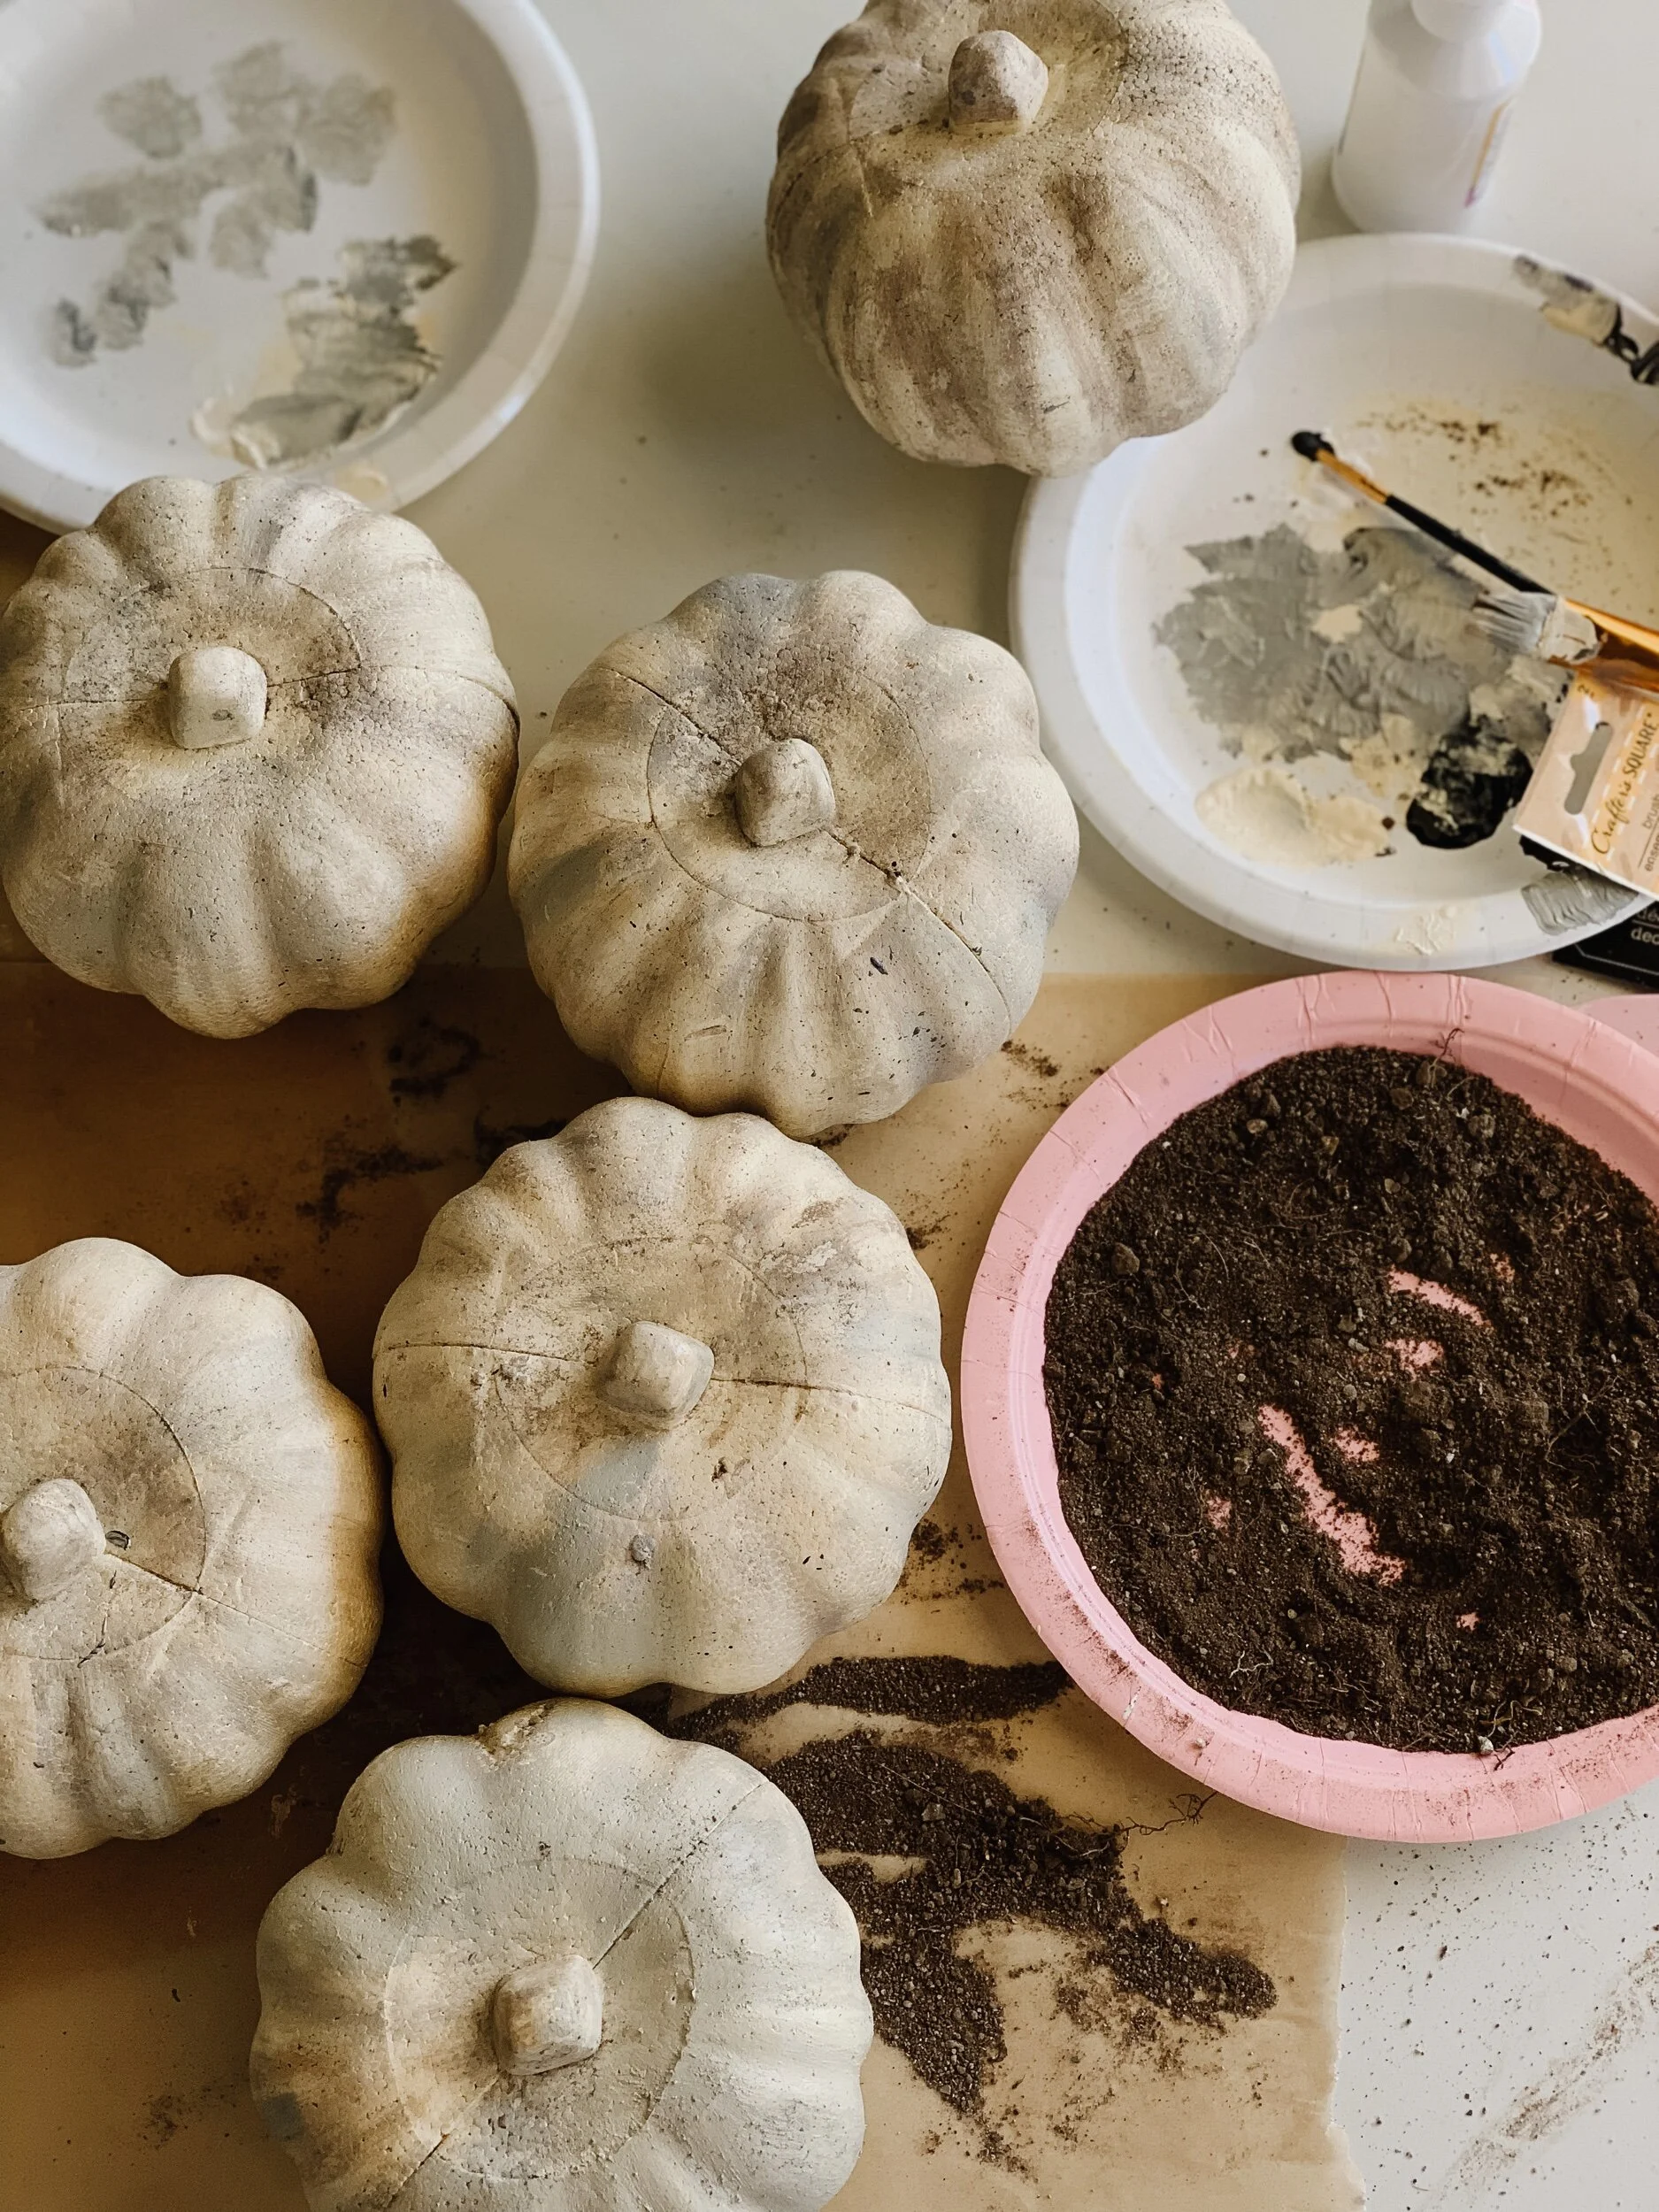
Step 1: Mix cream and white paint to get the perfect color you want. I left my color more creamy. Paint all pumpkins and let dry to tacky consistency.


Step 2: When you feel the pumpkins have dried to a tacky consistency, get your dry dirt and gently rub all over pumpkins. Use a little at a time first, and then add more if you feel it needs it. Rub in the creases, etc.

Step 3: Dust off any remaining dirt. Start adding very little of the black paint where you want definition on your pumpkins. Because the pumpkins are still tacky and not completely dry the black paint mixes with the cream paint and dirt. So it helps blend the black in well without being too stark.
Step 4: Optional- add black paint speckles. I dipped my brush in the black paint and placed my pointer finger on the top of the brush. Then I pulled back my finger while aiming at the pumpkin. I did this several times on all the pumpkins until I was happy with it.

Step 5: Optional- draw a jack-o-lantern face. I eye-balled and hand drew this face on the pumpkin with pen and then filled it in with black paint. You don’t have to do this, but it’s fun and the kids like seeing it. The fun part is that you can turn the face around after Halloween!

Step 6: Once everything has dried, you are finished and ready to display! It’s such a fun and easy DIY that you can do with kids too!
Enjoy!