
Easy Christmas Paper Star Tutorial
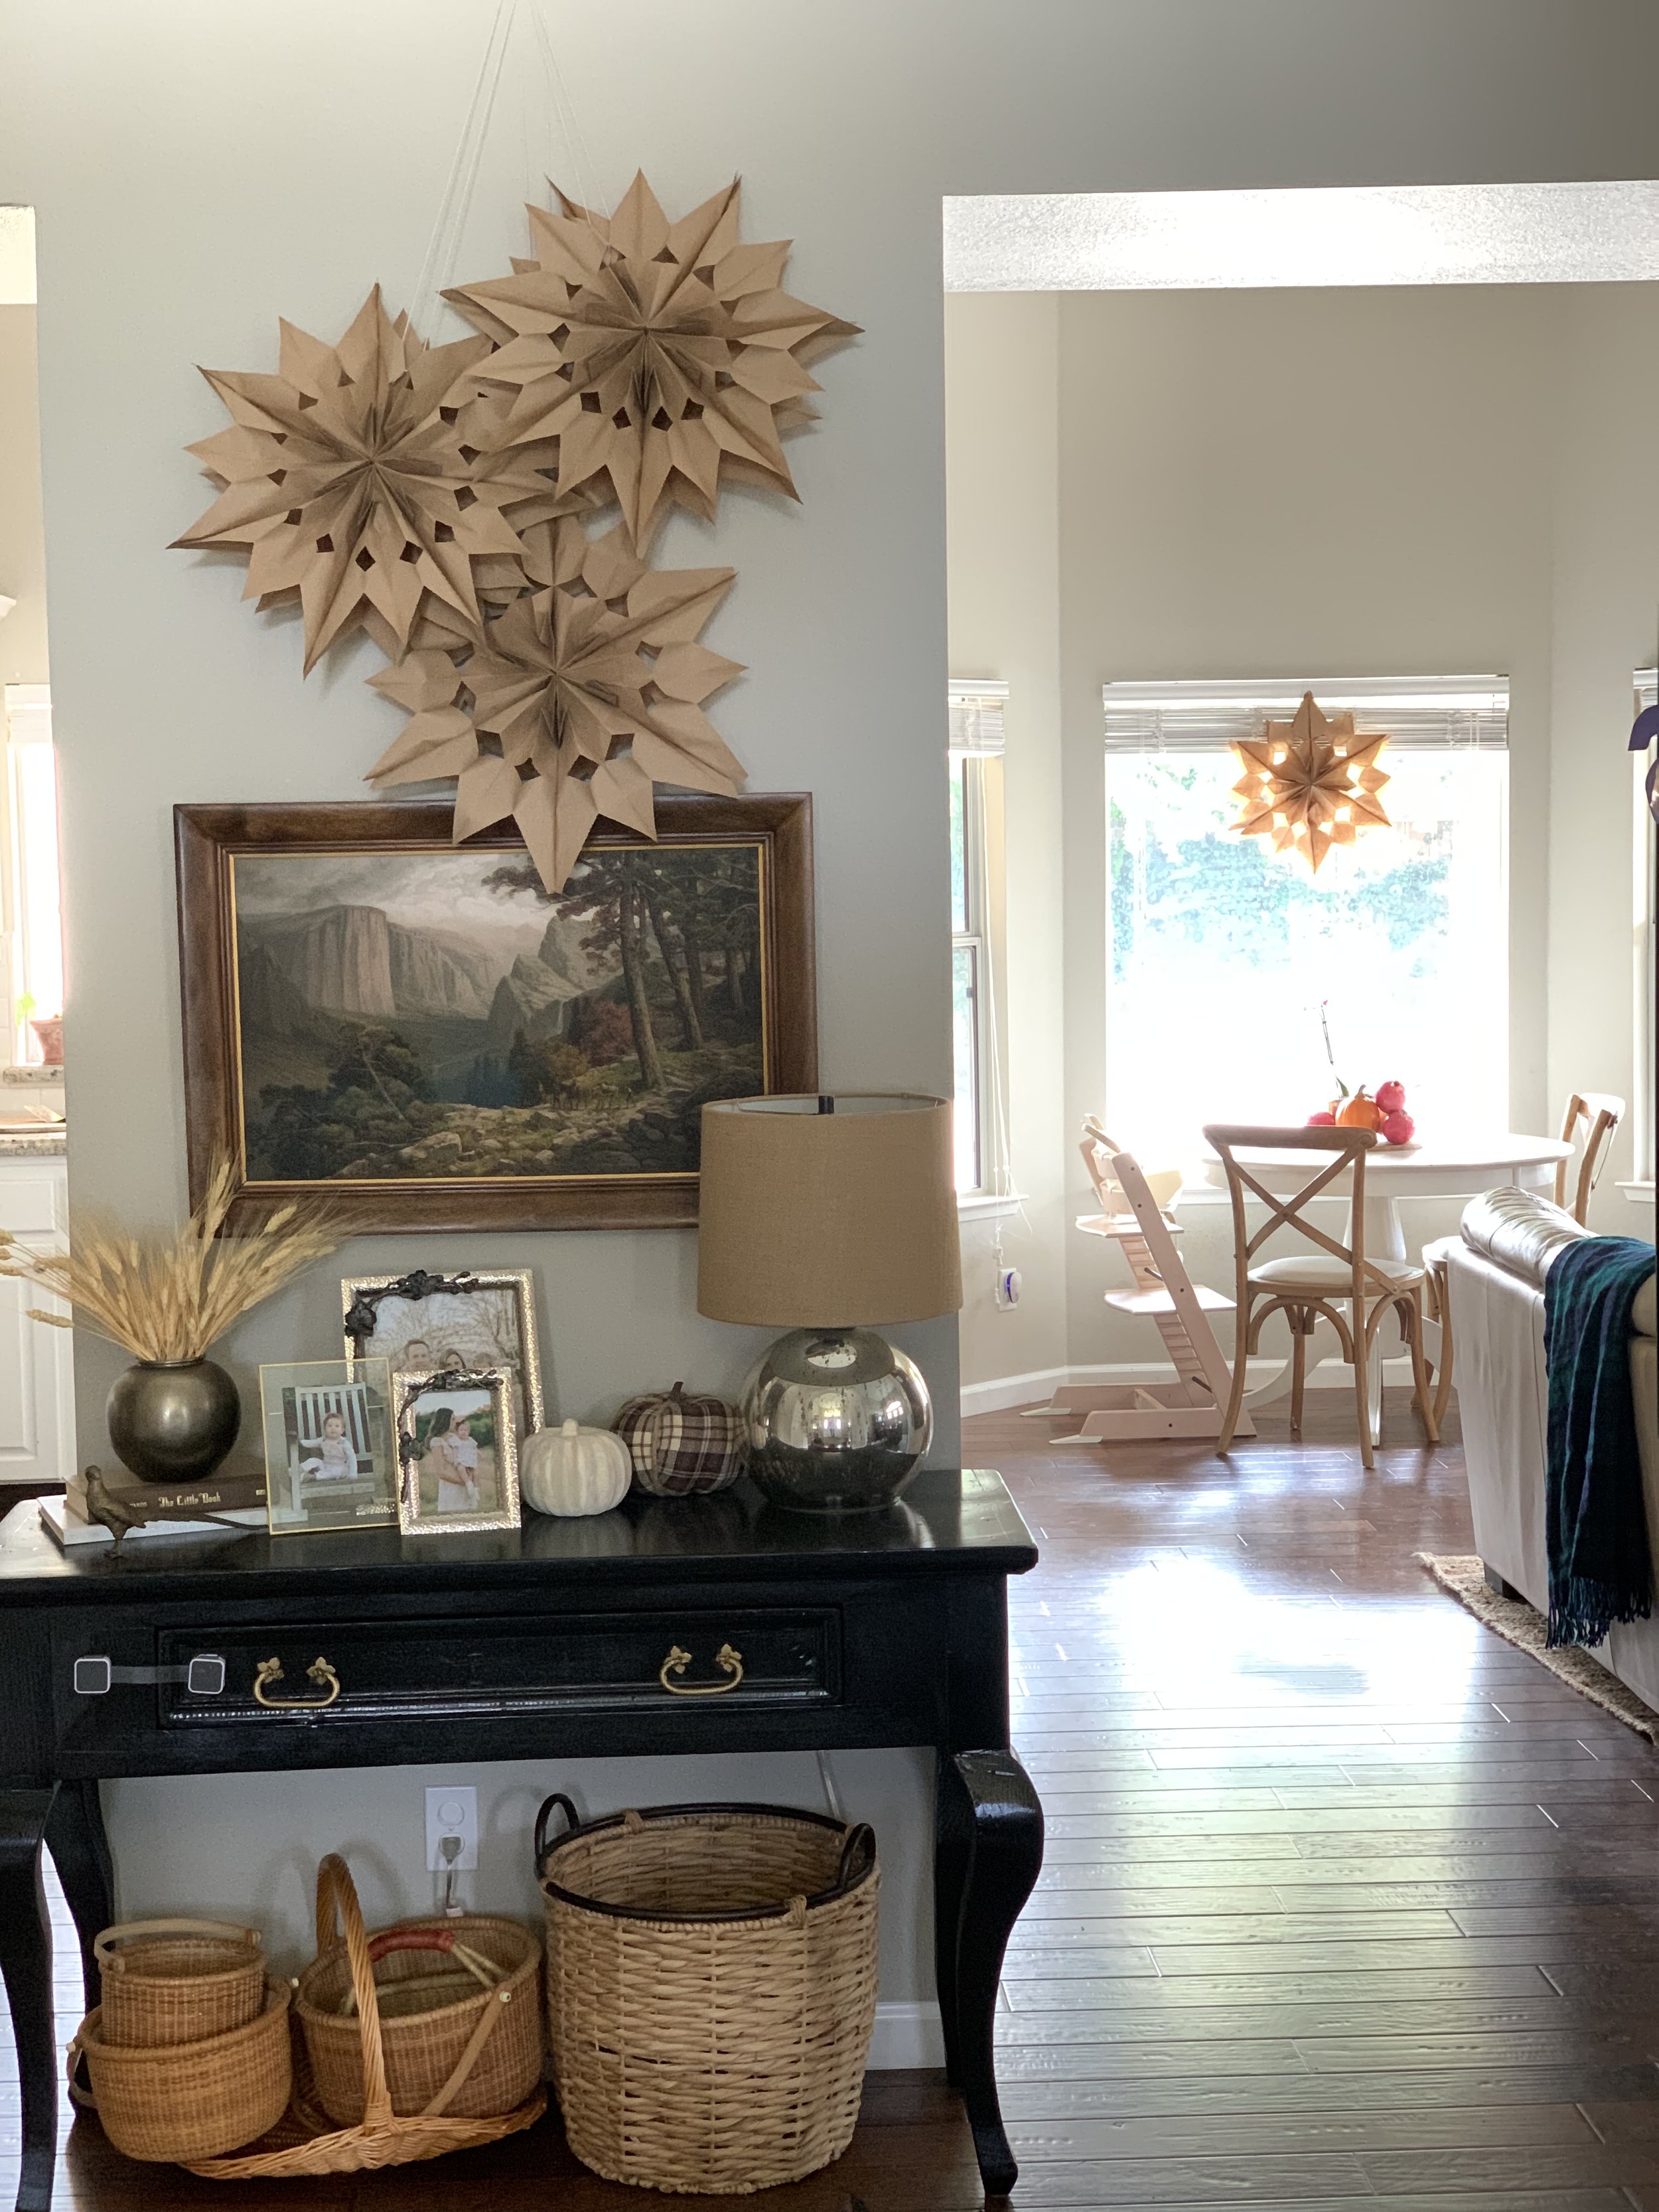
This easy-to-make DIY will make your home feel so cozy this holiday season
Find the tutorial below.

S U P P L I E S
1-2 packs of brown lunch bags.
Scissors
Hot glue gun and glue sticks
String
I N S T R U C T I O N S
Set aside 7 bags per star.
Take one bag and flip to the side that has the folded bottom part of the bag. This is the side you will glue.
Get your hot glue ready. Once warmed up, run a line of glue from the top middle of the bag to the bottom. Next add another line of glue at the bottom. Making a upside down T. Lay next bag on top immediately, with the bag going the same direction, and the bottom of the bag facing up. (Pictures below.) Repeat until all bags are glued together.
Once all bags are glued together, it’s time to make the cuts! With the bag opening facing you, place the scissors in the middle and cut to the side making an angled cut. You are basically making a triangle shape.
Once you have cut the triangle shaped edge, rotate the bag so it’s landscape in front of you. In the middle of the bag, make another triangle cut in the middle of either side. Make sure your cuts on either side are lined up and cut in the same place. (It will look more uniform.)
You are now ready to assemble your star. Lay stack down and add the T shaped glue on one side. Pull the other side to seal together. This will make the star shape.
Add the string to hang the star through one of the cutout openings on the top. You are done! Hooray! Once you get the hang of it, it’s super fast and easy!


I hope you enjoy making this easy Christmas paper star tutorial! It adds such a cozy hygge feeling to the home, and would be so fun to make with kids.
Enjoy!
Sydney